
Guides
How to Measure Your Span
Four numbers and a photo get you a fixed price. Here is how to take them properly.
The short answer
We need four things: the width you want covered, the depth or projection, the height under your eave if it is attached, and the fall of the ground across the area. Measure at the tightest point rather than the most convenient one, and send a photo taken standing back far enough to see the whole space.
- Numbers needed
- Four
- Measure at
- The narrowest point
- Also send
- One wide photo
- Accuracy to quote
- Within about 100mm

01
The four measurements
Take them with a long tape and write them down as you go rather than remembering them.
Looking down
Standing side on
Tick as you go
0 of 4
| Measure from | What people get wrong | |
|---|---|---|
| Width | Edge to edge, at the tightest point | Measuring the widest point instead |
| Depth | The house wall out, or kerb to garage | Measuring the paving, not the area to cover |
| Eave height | Ground to the underside of the eave | Skipping it, which decides whether a gable fits |
| Fall | The drop from one end to the other | Assuming the ground is level because it looks it |
Measure the narrowest point, not the widest. A kit cut to the widest number does not fit the tight end.

02
The mistakes that cost a week
Almost every back-and-forth at quoting comes from one of these.
- Measuring the paving instead of the area you actually want covered
- Forgetting the eave height on an attached structure, which decides whether a gable fits at all
- Ignoring a downpipe, a meter box or a window that the structure has to work around
- Measuring to a fence and forgetting the setback the council will want
- Rounding up — send the real number and let us do the allowances

03
The photo matters more than people think
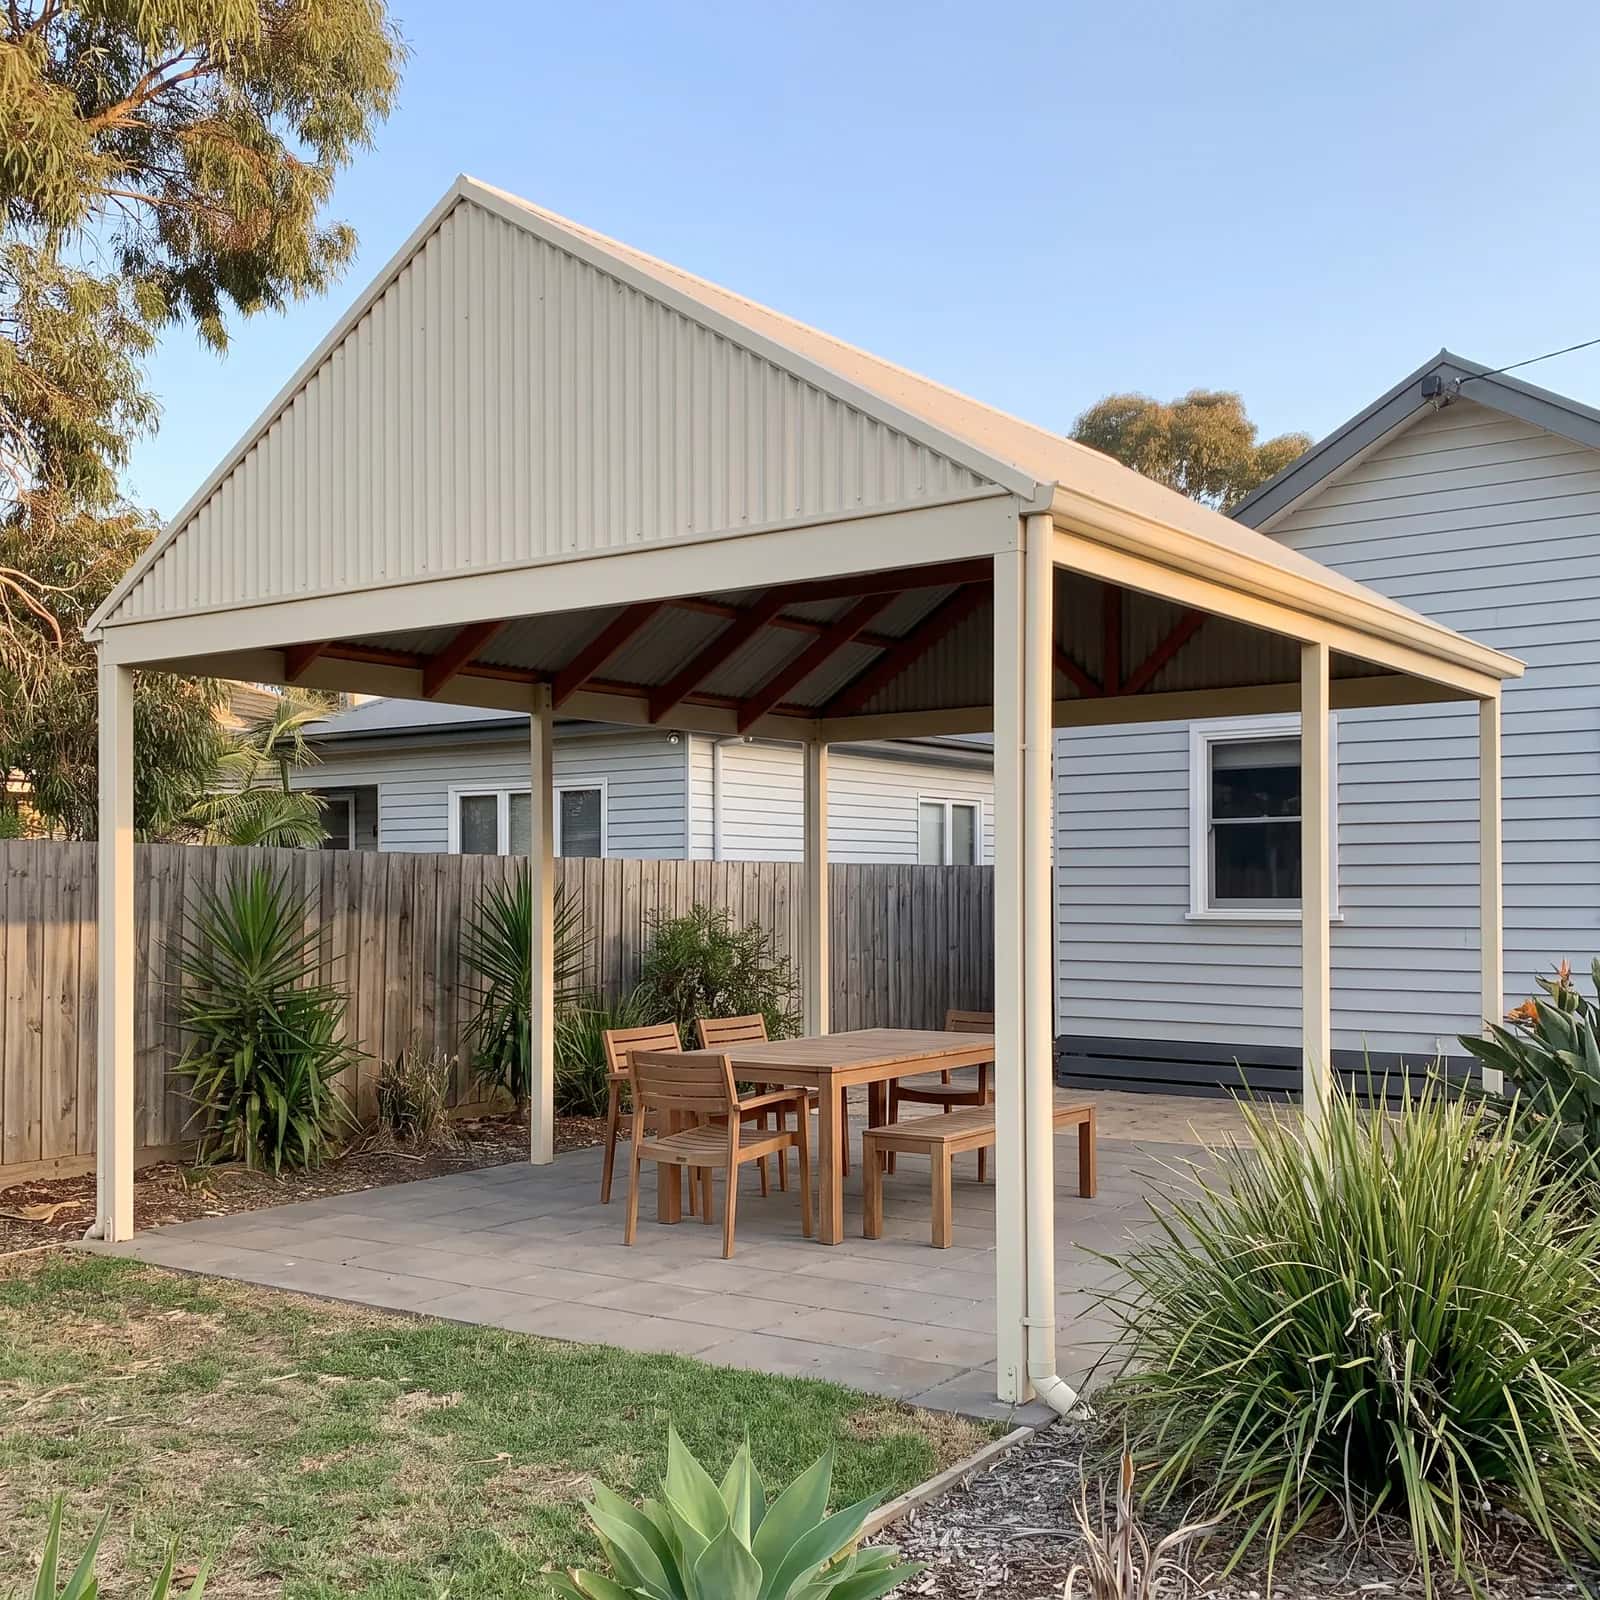
Numbers tell us the size. A photo tells us the things you did not think to mention: the fall of the block, what the wall is made of, where the water goes, how the eave is built.
Stand back far enough to get the whole area and the house behind it in one frame. One good wide photo beats five close-ups.

04
If you cannot measure it yet
Send what you have. A rough width and a photo is enough to start a conversation and to tell you whether what you want is possible.
Nothing is cut until the measurements are confirmed, so an approximate first number costs nothing.
Measuring questions
How accurate do the measurements need to be?
Close enough to quote is fine to start — within about 100mm. They get confirmed before anything is cut, so the first number is for pricing rather than for manufacture.
What if the ground is not level?
That is normal and it is workable. Tell us roughly how much it falls across the area and in which direction, because it changes post lengths and where the water ends up.
Do I measure to the fence or to the boundary?
Measure to the fence and tell us it is a fence. The boundary is not always where the fence is, and setbacks are measured from the boundary, so it is worth knowing the difference before anything is cut.
What about the downpipe in the way?
Include it in the photo and mention it. Downpipes, meter boxes, taps and windows all get designed around routinely — they only become a problem when nobody knew about them.
More kit guides
Next step
Send your measurements for a kit price
Send the width, the depth, the eave height and a photo of the spot. We come back with a fixed price for the kit and a list of what is in it.