
Ordering
How Ordering a DIY Patio Kit Works
Four steps from a measurement to a structure in your yard. The part most people want to know is what turns up on the truck, so that is spelled out below.
The process
The four steps
- 01
Send us your measurements
Length, width, the height you want to clear, and a photo of the spot. If you are not sure how to measure it, say so and we will talk you through it.
- 02
We quote the kit
A fixed price for the kit itself, with the roof profile and colour you picked. No obligation, and no drip-feed of extras afterwards.
- 03
It is cut and delivered
Made to your measurements, then delivered flat-packed to your address with the plans, the span tables and every fixing in the pack.
- 04
You build it
Most kits go up over a weekend with two people. If you want a hand with the footings or the beams, we can put you onto an installer.


Worth settling first
Before you order
Four things worth settling first. Each is cheaper to decide now than to change after the steel is cut.
Somewhere flat to put it
An existing slab, or ground you can dig footings into. We can quote either way, but the footing detail changes.
Your measurements
The span matters more than anything else. It sets the beam size, and it is the difference between a kit that works and one that sags.
Council, sometimes
Most WA councils want an application for anything structural. The plans we send are engineer-rated so you have what they ask for.
A spare weekend and a mate
Almost nothing in these kits is a one-person job. The frame goes up faster than people expect; the roof sheets take the time.


On the weekend
Then you build it
What the weekend looks like once the kit is on your driveway. Before that, delivery across Perth and WA explains what turns up on the truck and how to make the drop-off go smoothly.
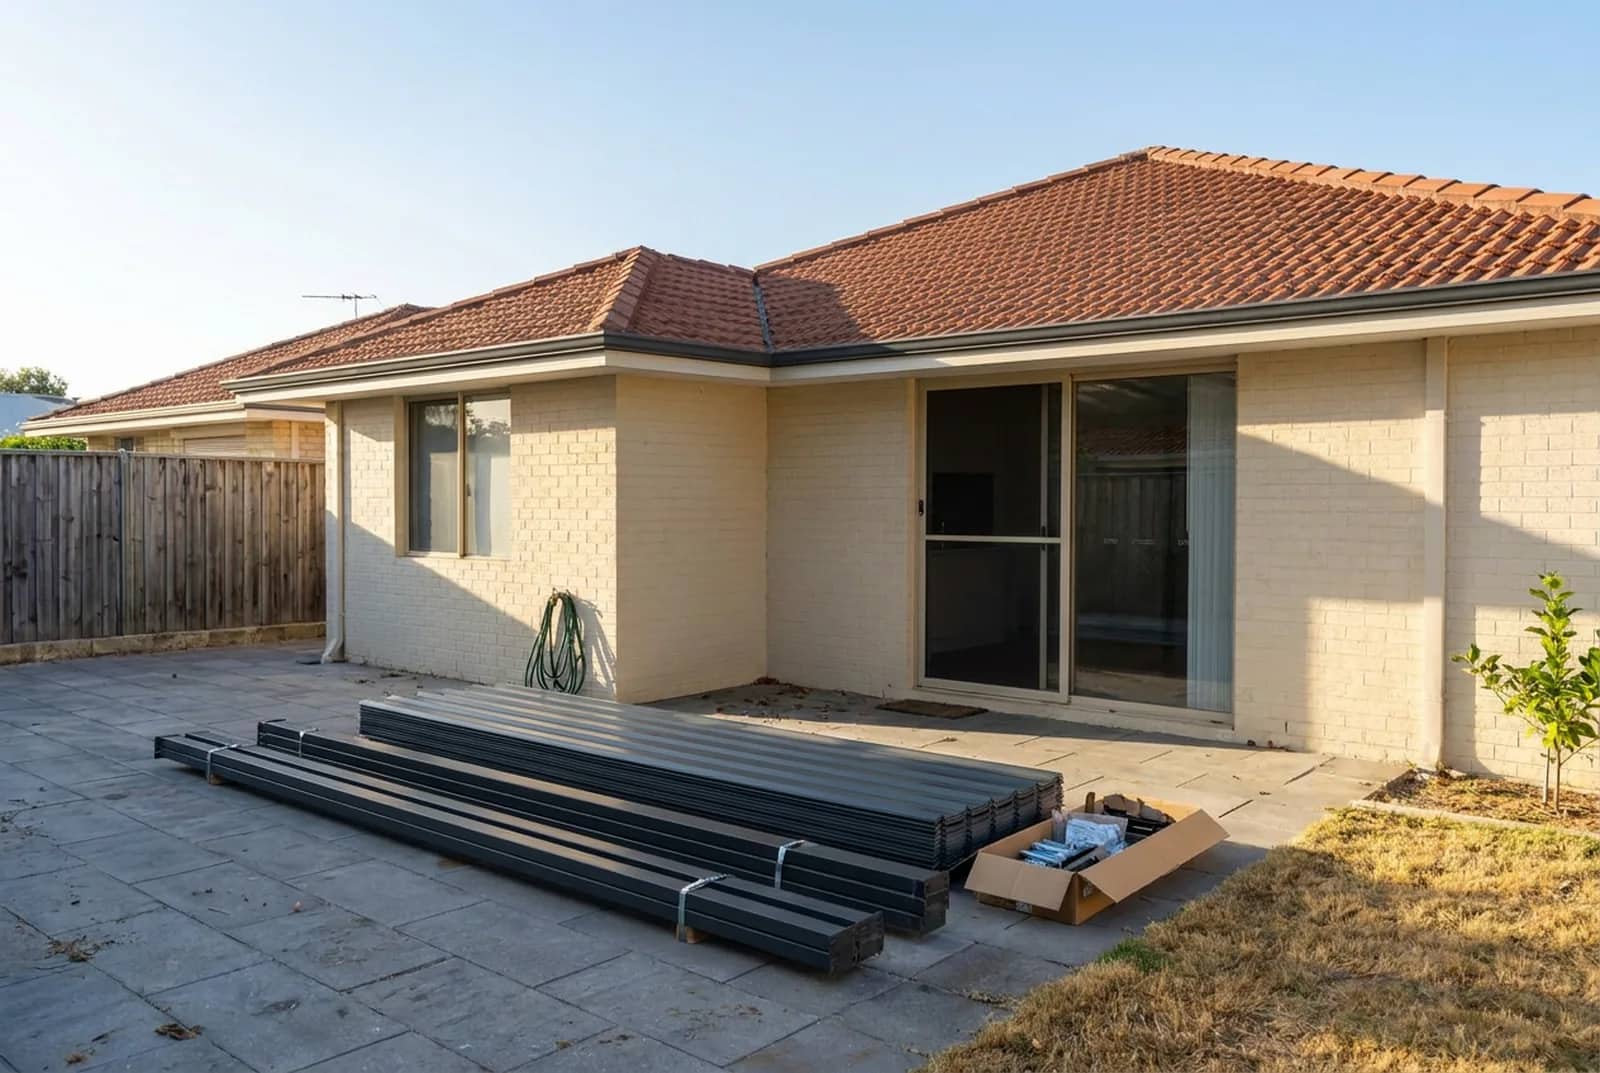
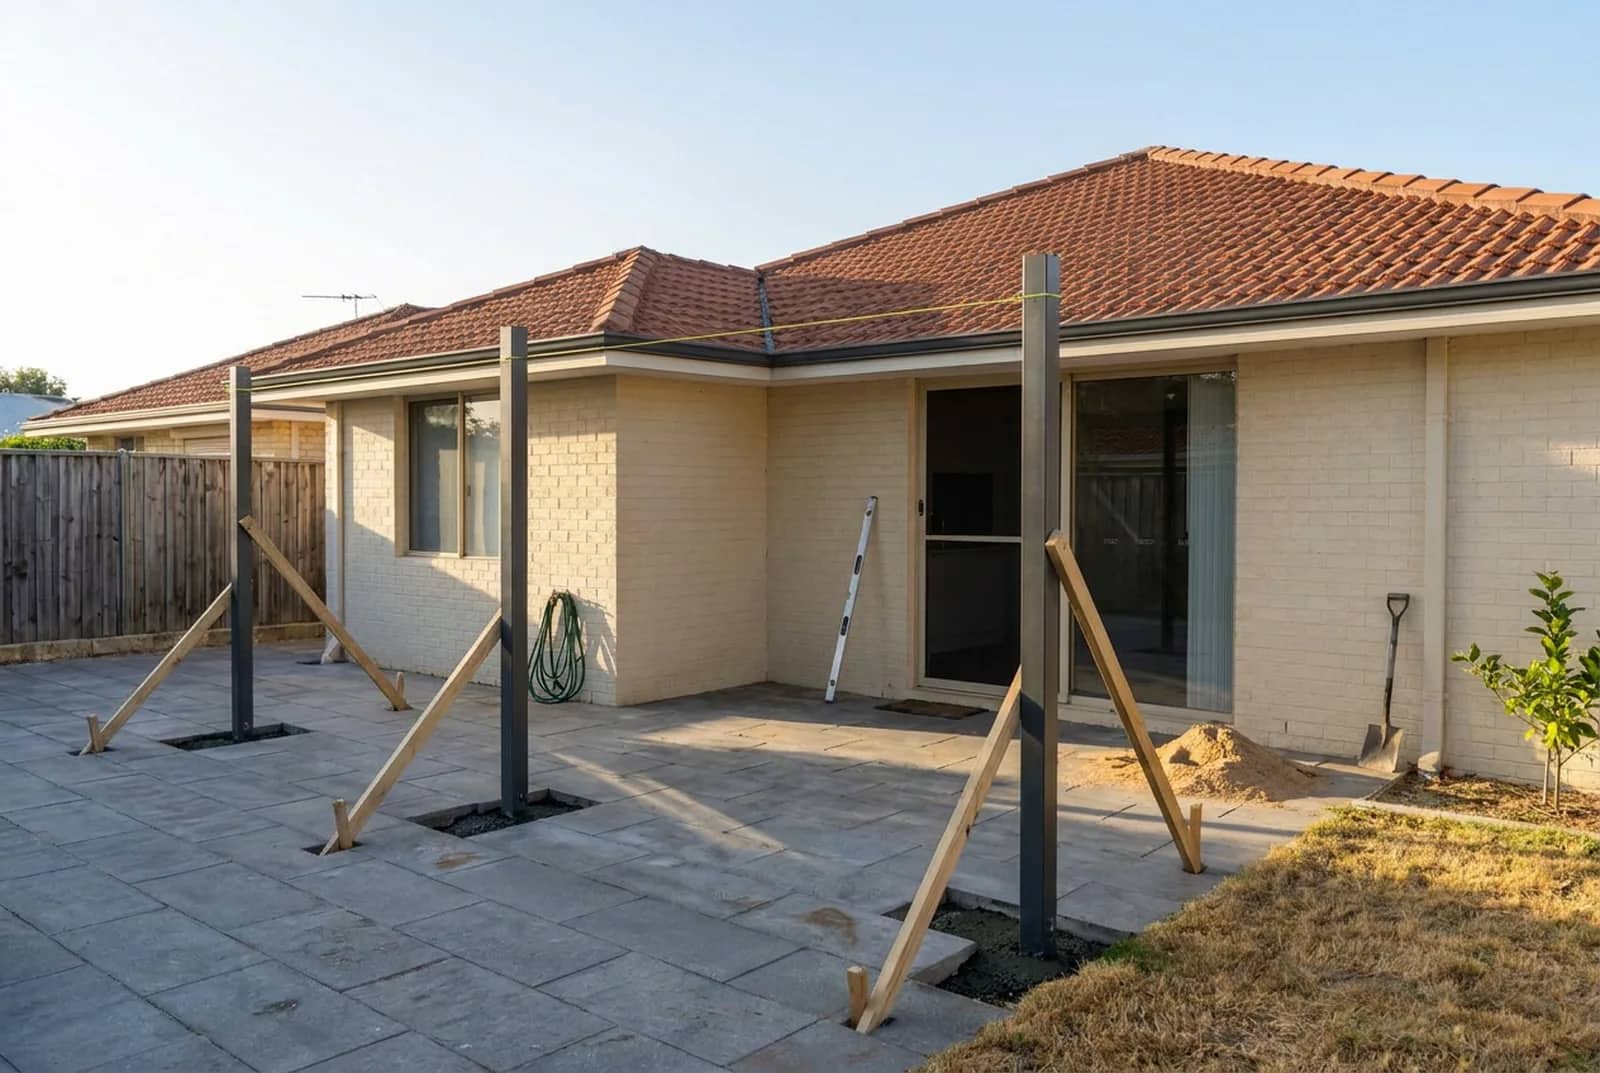
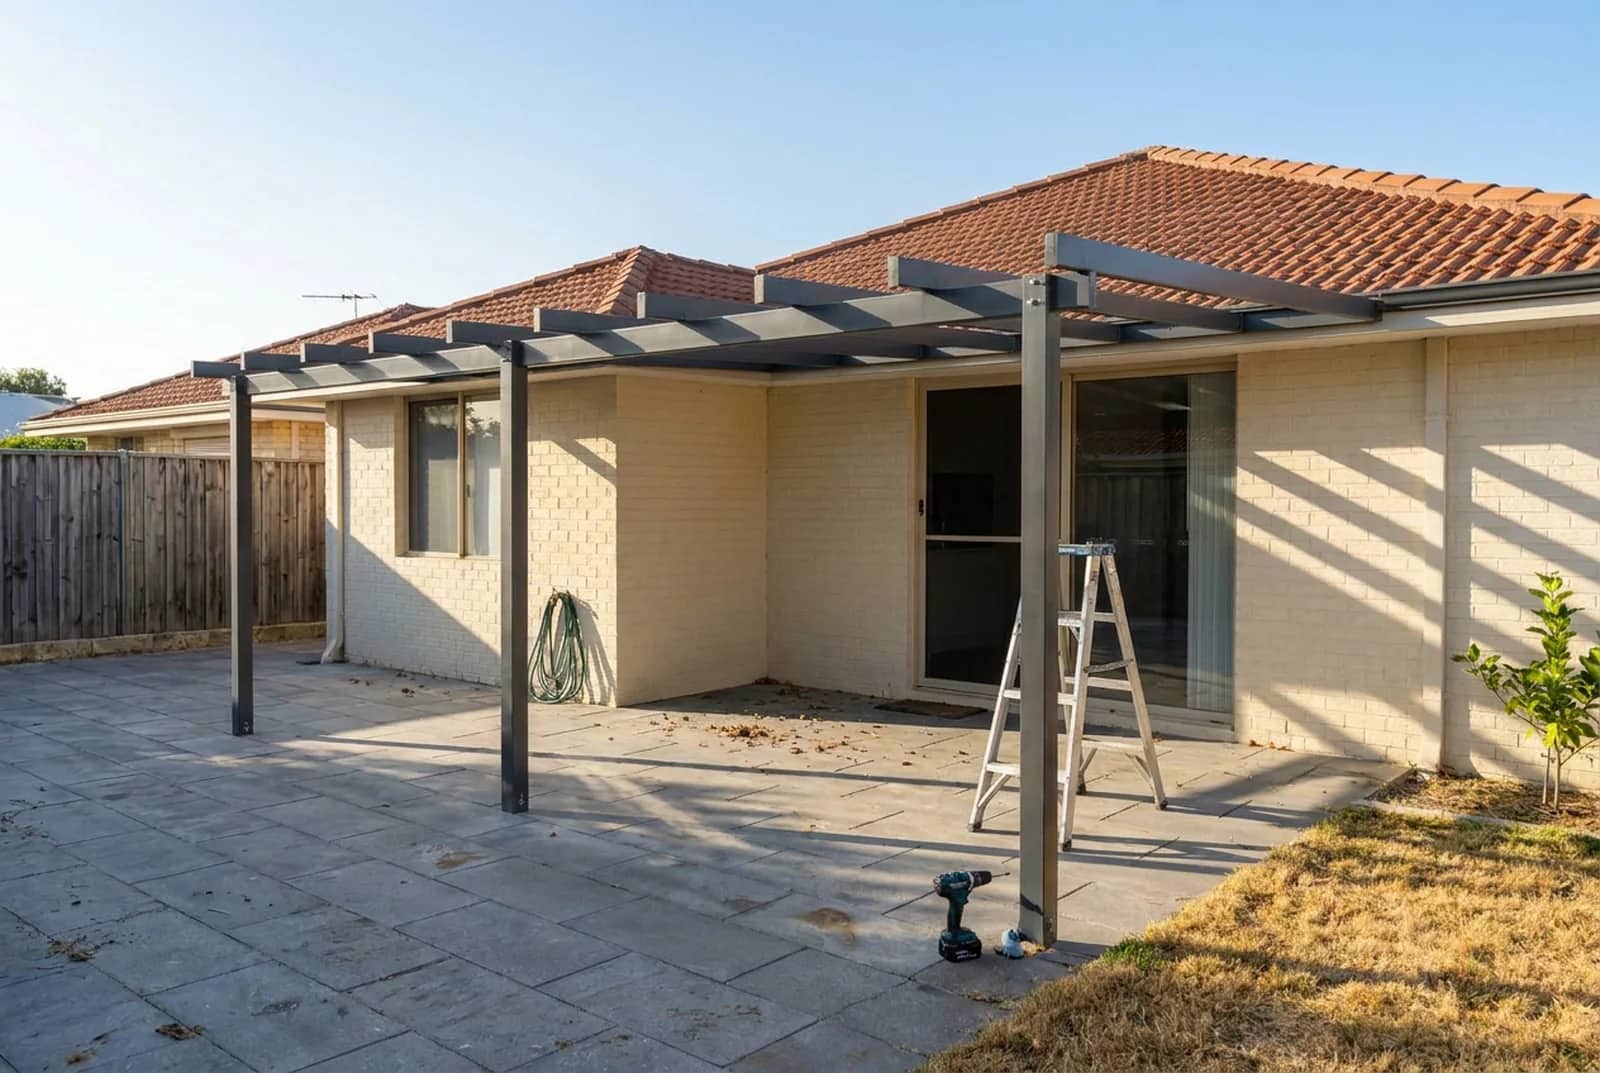
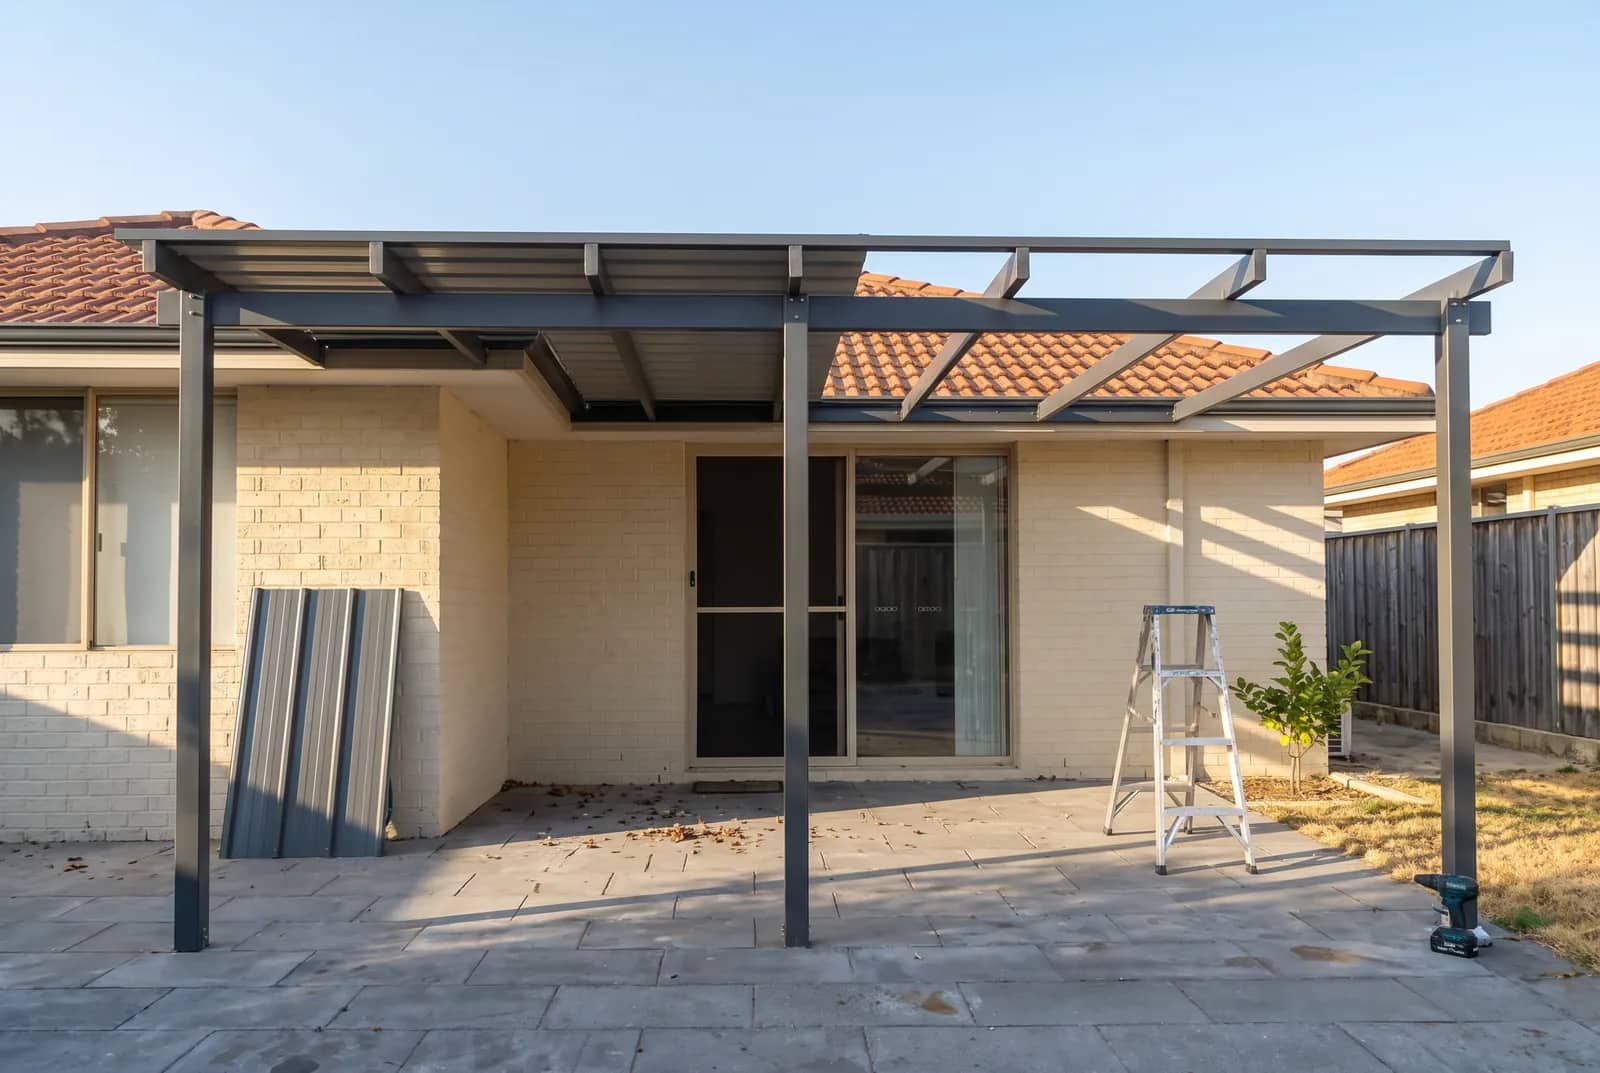
Stage 01 of 05
It arrives flat-packed
Beams, posts and roof sheets strapped in bundles, with the fixings boxed and labelled. Every piece is cut to your span and the holes are already drilled, so nothing on the driveway needs measuring or cutting.
Stage 02 of 05
Footings and posts
Mark the post positions, dig the holes, stand the posts and concrete them in. Brace them, run a string line and check plumb and level before anything else goes on — every measurement above depends on this stage being right.
Stage 03 of 05
The frame goes up
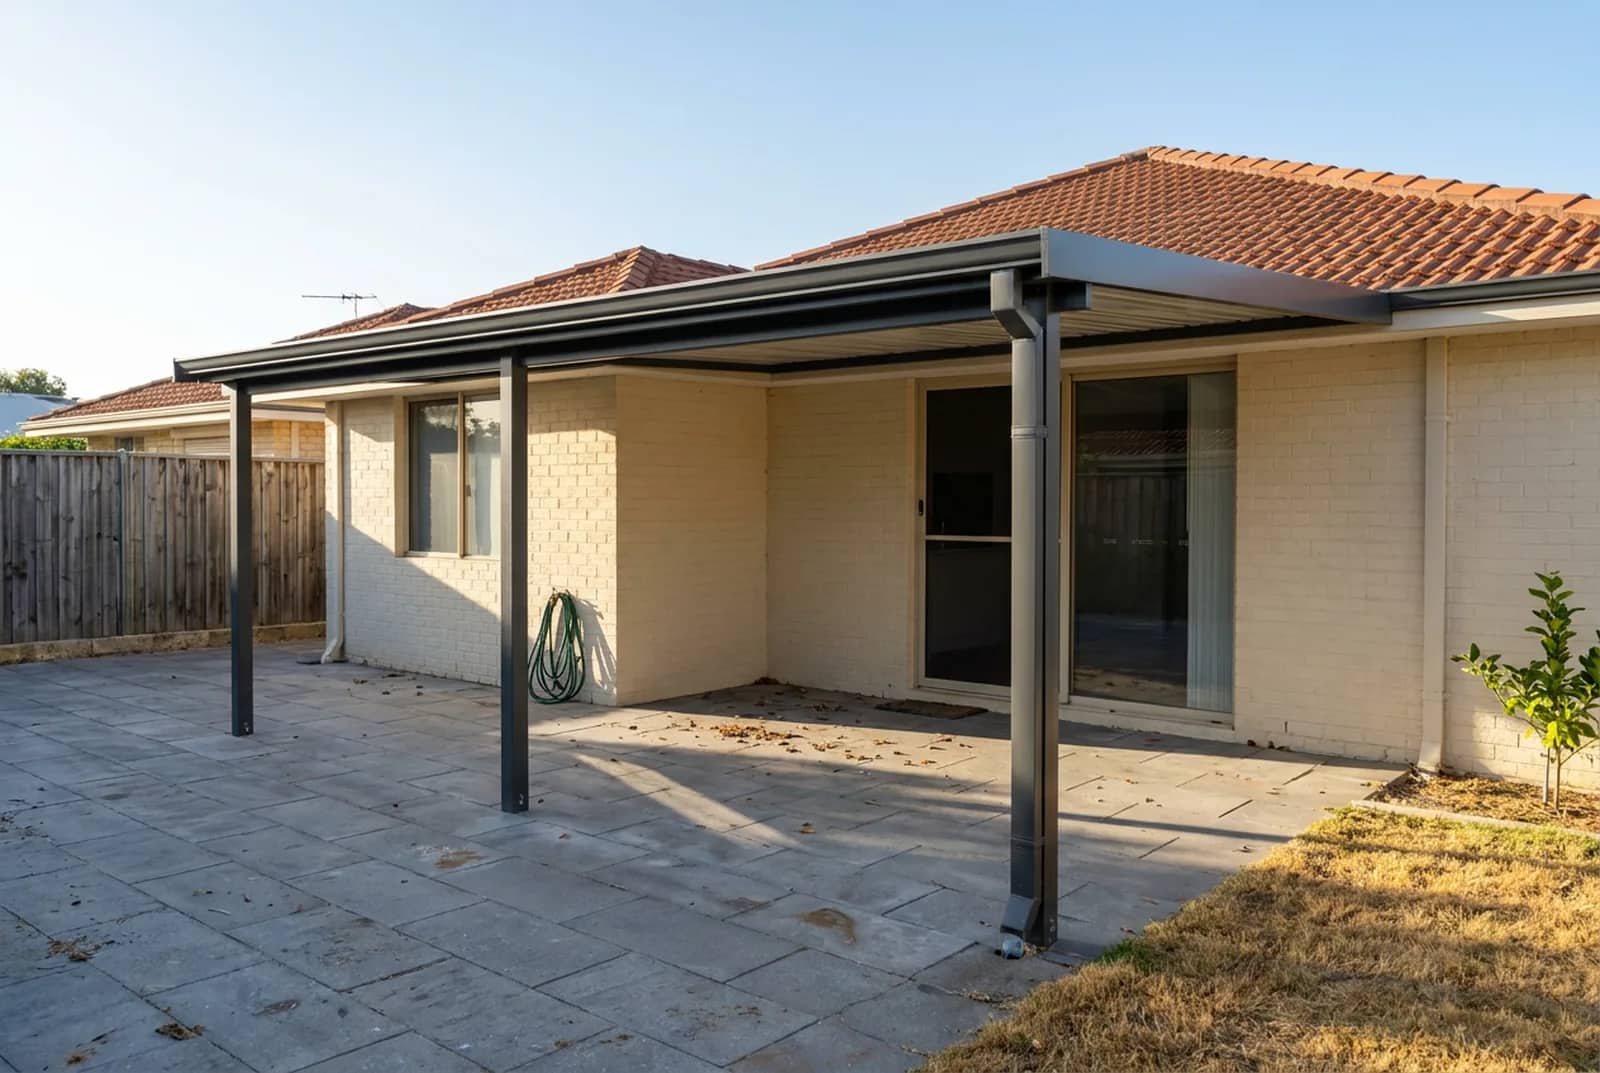
For an attached patio the back channel is fixed to the house first, then the beams and rafters go on and every bolt is tightened off. This is the part people expect to be hard and it is the part that goes fastest.
Stage 04 of 05
Then the roof sheets
Colorbond sheets laid one at a time and fixed off, each lapped the right way so water runs off rather than under. This is the slow part of the job and the part worth having a second person for.
Stage 05 of 05
Flashing, gutter and downpipe
Wall flashing tucked in so the join to the house is weathertight, then the gutter and downpipe. Offcuts and packaging away, plans filed for council, and it is finished. No installer to pay and nobody to wait on.
For an honest read on the difficulty, including the two steps people underestimate, see how hard is it really.
Next step
Get a price for your kit
Width, depth, the height under your eave and a photo of the spot. We come back with a fixed price for the kit and a list of what is in it.
Kits are supplied by The Patio Factory, Australian BlueScope steel, in Colorbond finishes.